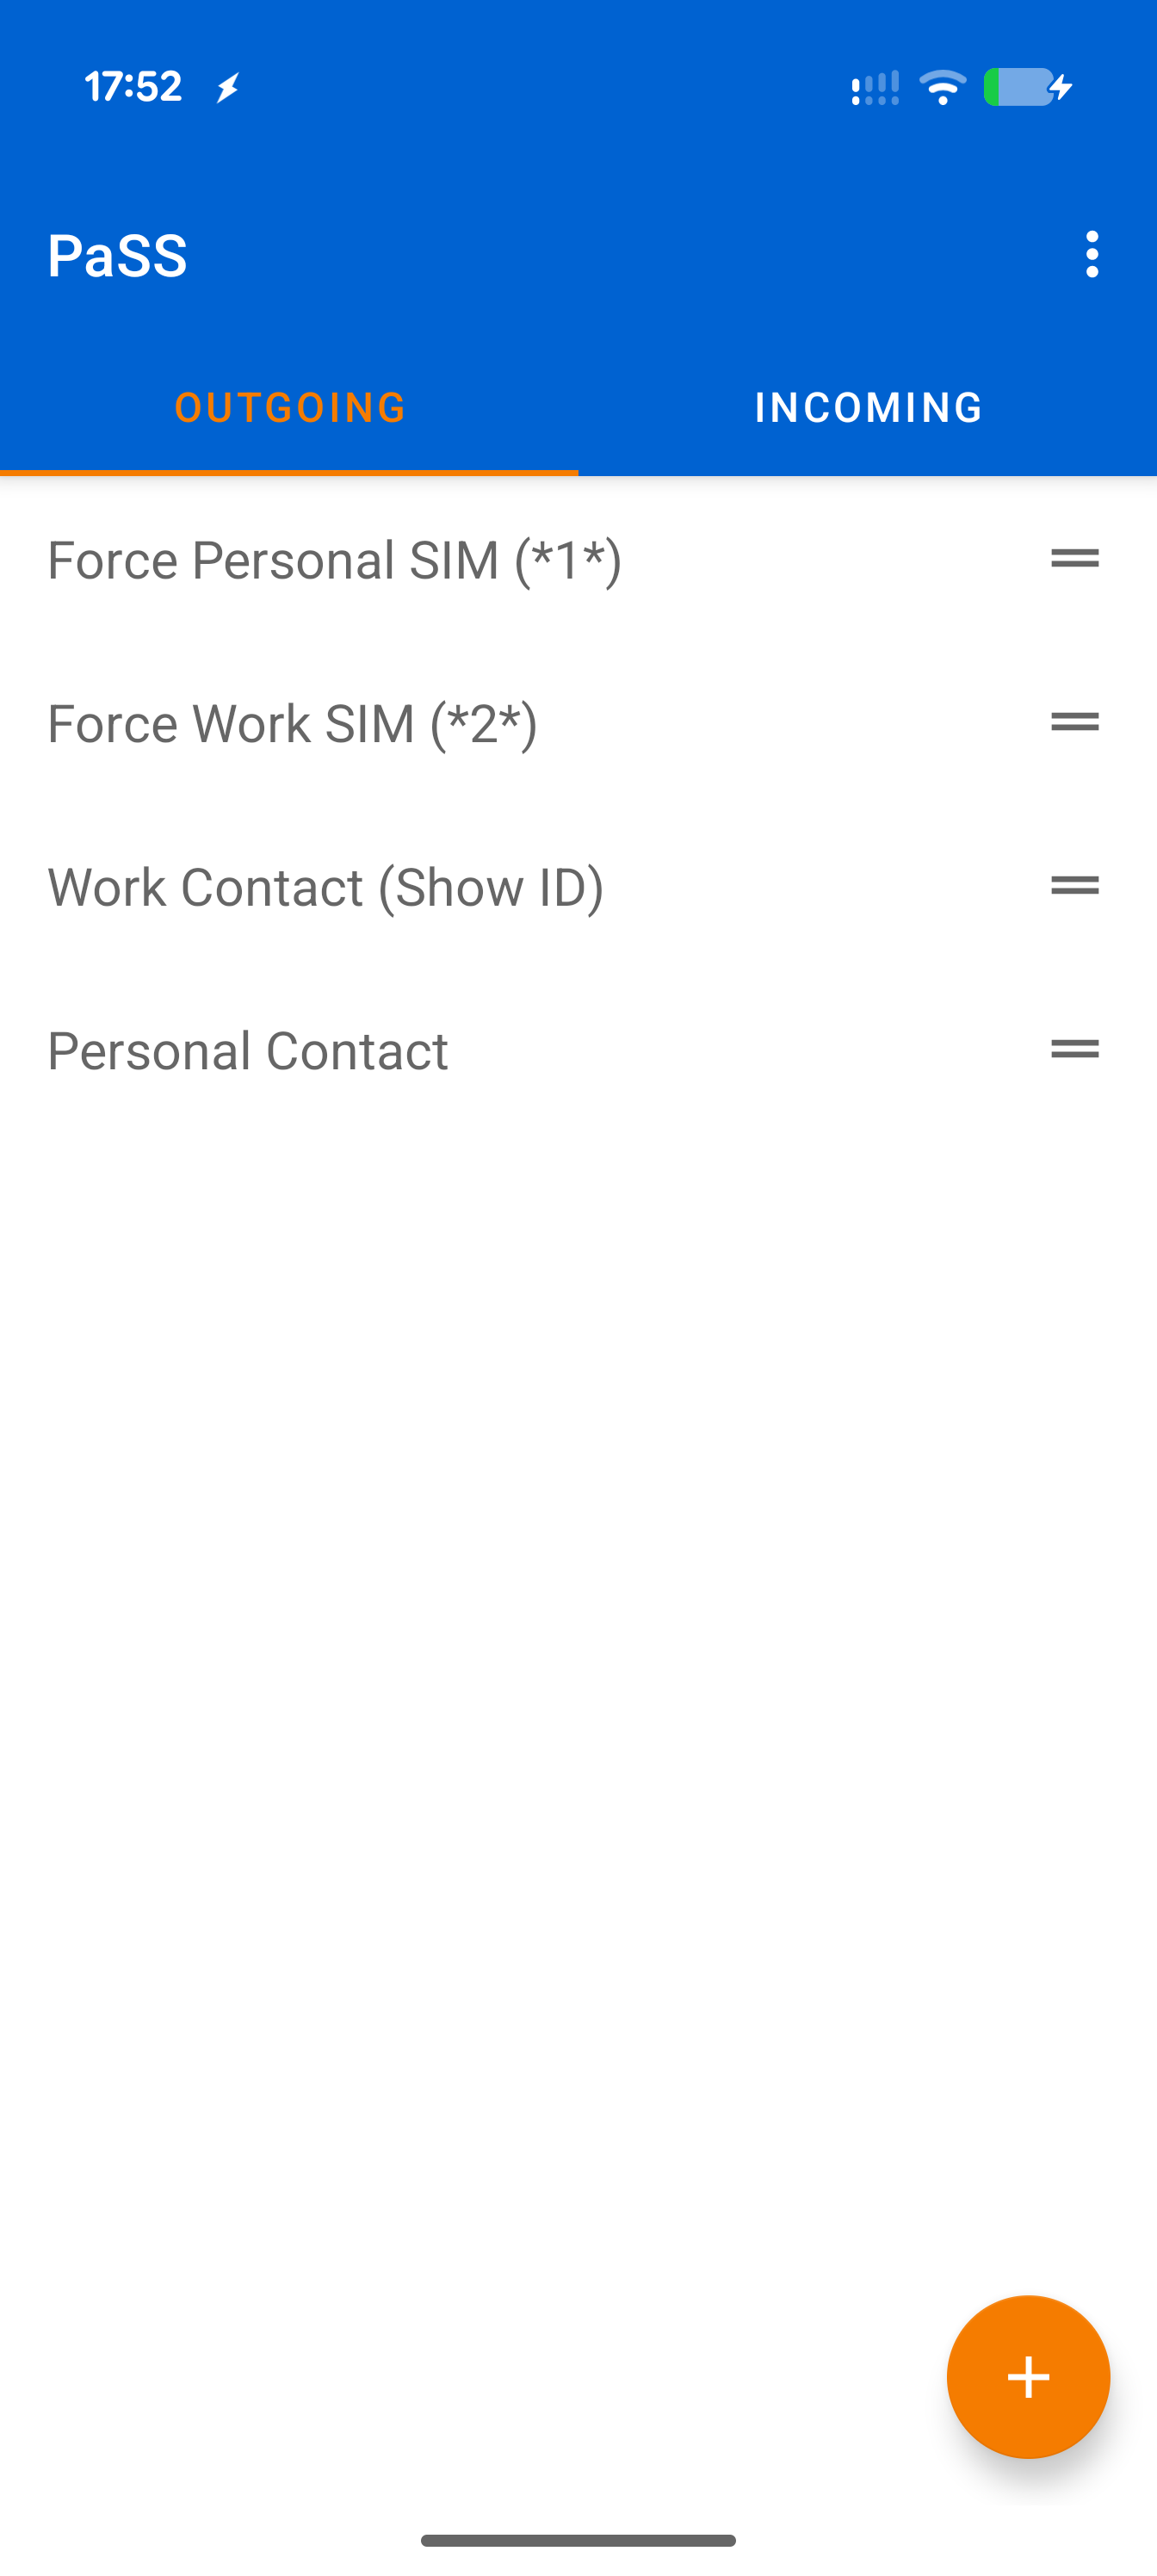
1. The Basics & Logic
PaSS operates on a simple logic: the app reads your rules from top to bottom.
- The first rule that "matches" the call wins.
- The app executes the actions of that rule.
- The app stops and ignores the rest of the list.
Tabs: You have two lists. Switch at the top between Outgoing (you call) and Incoming (you are called).
Want to hide/show your number? First check your Android default settings. Read the Android Settings Guide here.
2. Conditions (IF...)
A rule is only executed if ALL conditions in that rule are met.
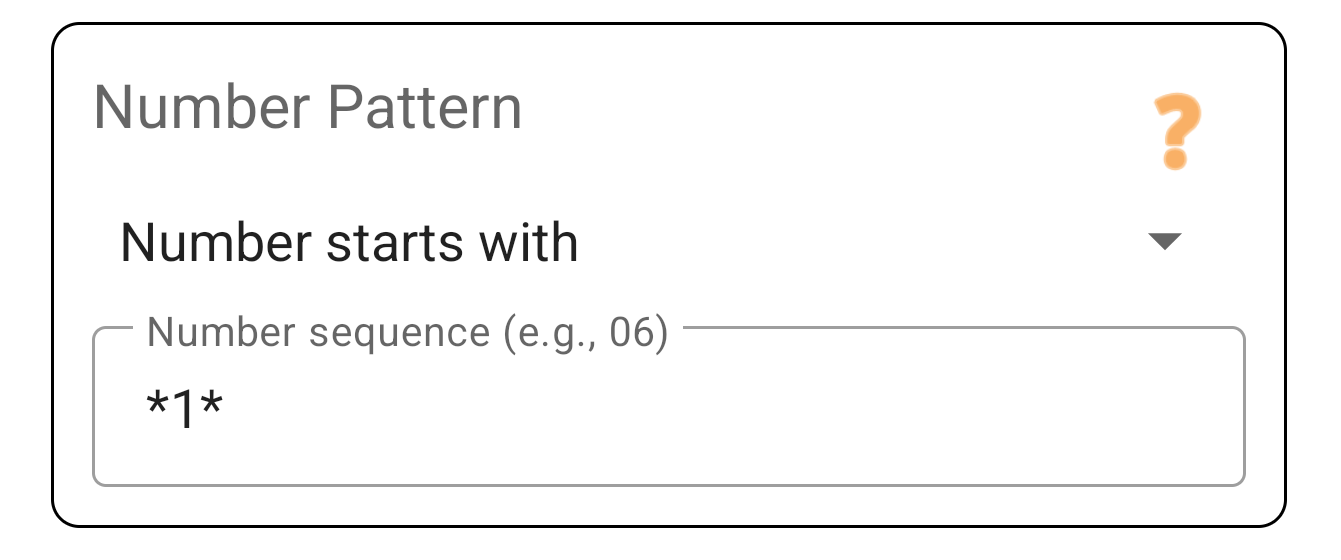
Number Pattern
Checks the digits of the phone number.
- Starts with: Useful for country codes (
+44) or mobile prefixes. - Contains: Useful if you dial a code yourself (e.g.
***) to force a rule.
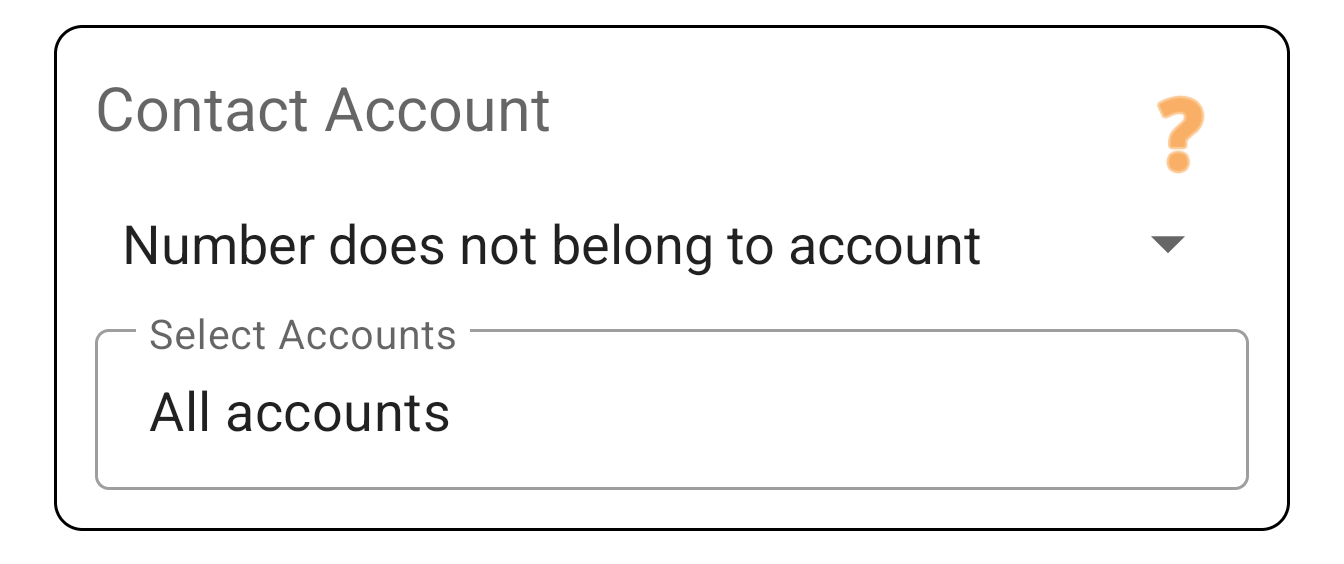
Contact Account
Checks where the contact is saved on your phone (e.g. "Work Exchange" or "Private Gmail").
This is the most powerful way to separate work and private life without manually creating groups.
- Inclusive: Applies ONLY to these accounts.
- Exclusive: Applies to everyone EXCEPT these accounts (useful for "Unknowns").
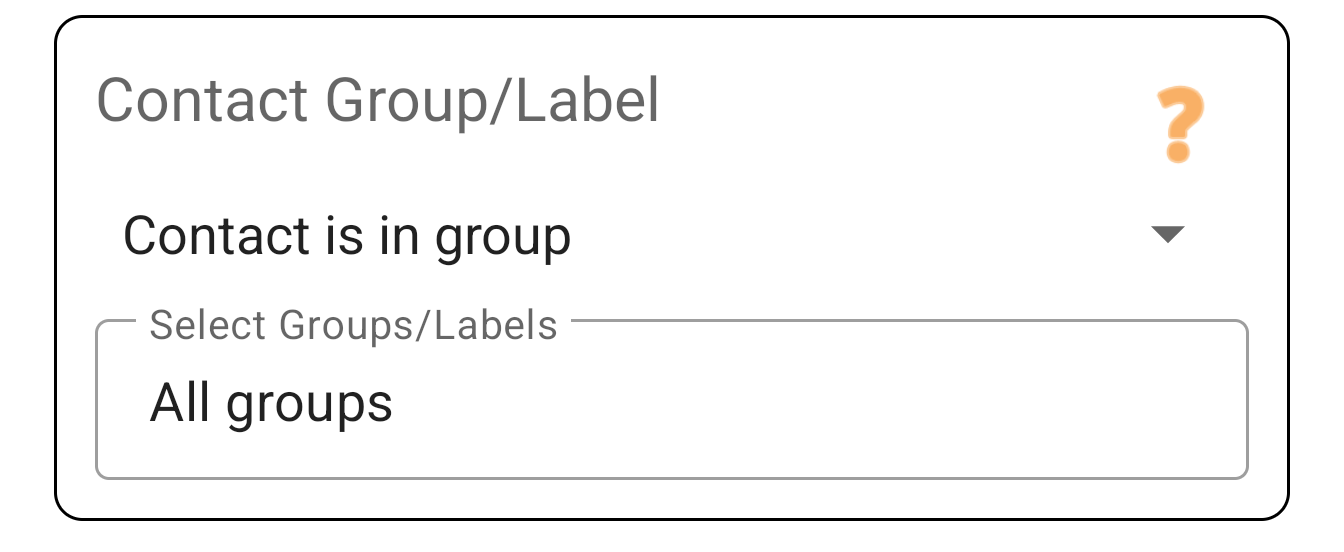
Contact Group
Checks if the contact is in a specific group (label) in your address book, such as "Family", "VIP" or "Patients".
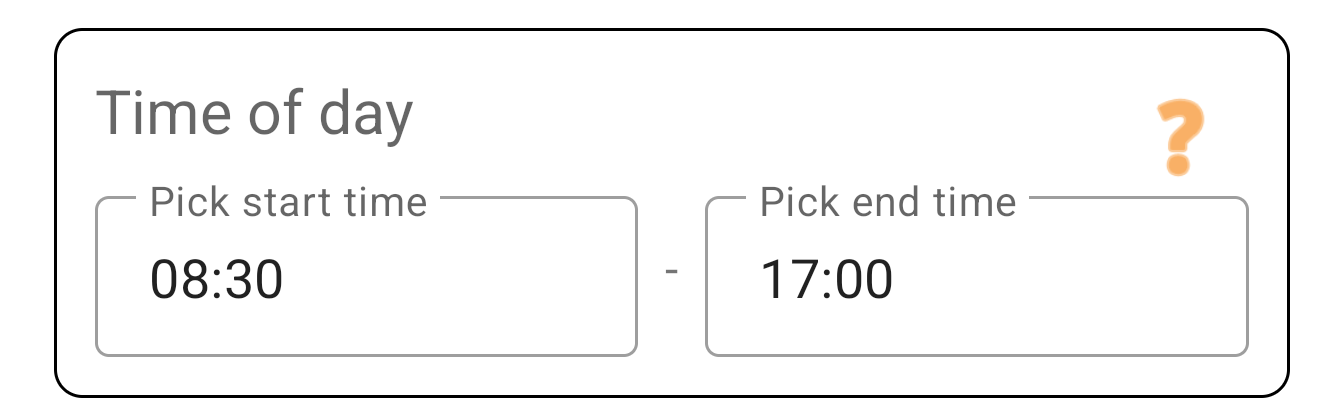
Day & Time
Create rules that only work at certain times.
- Days: Select active days (e.g. Mon-Fri for work rules).
- Time: Set a time slot (e.g. 09:00 - 17:00).
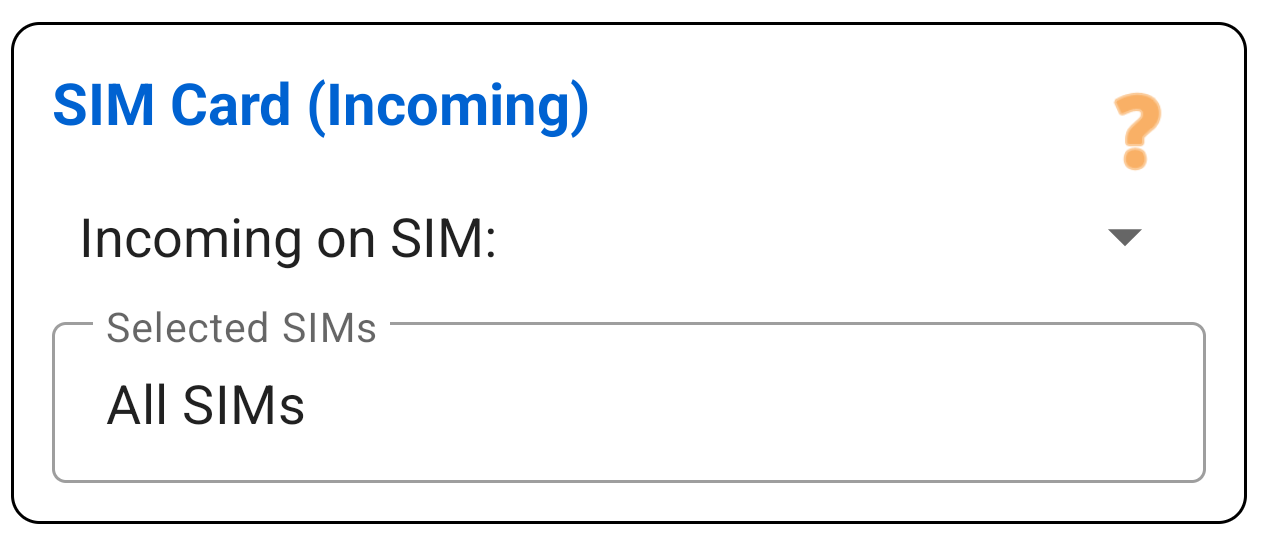
SIM Card
Filter based on which SIM card is receiving the call. Essential for your "Firewall".
Example: "If called on my Work SIM on the weekend -> Send directly to voicemail."
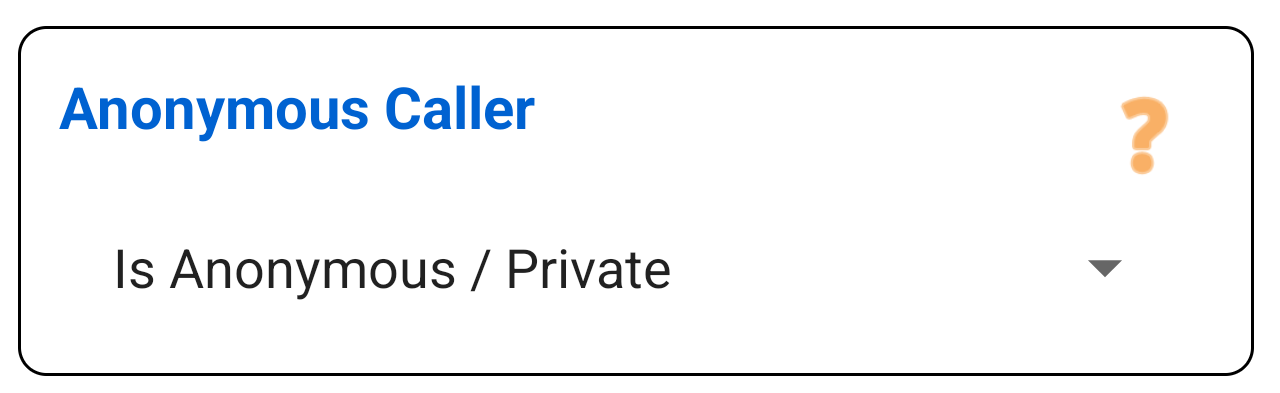
Anonymous Caller
React specifically to callers who have hidden their number (Private number).
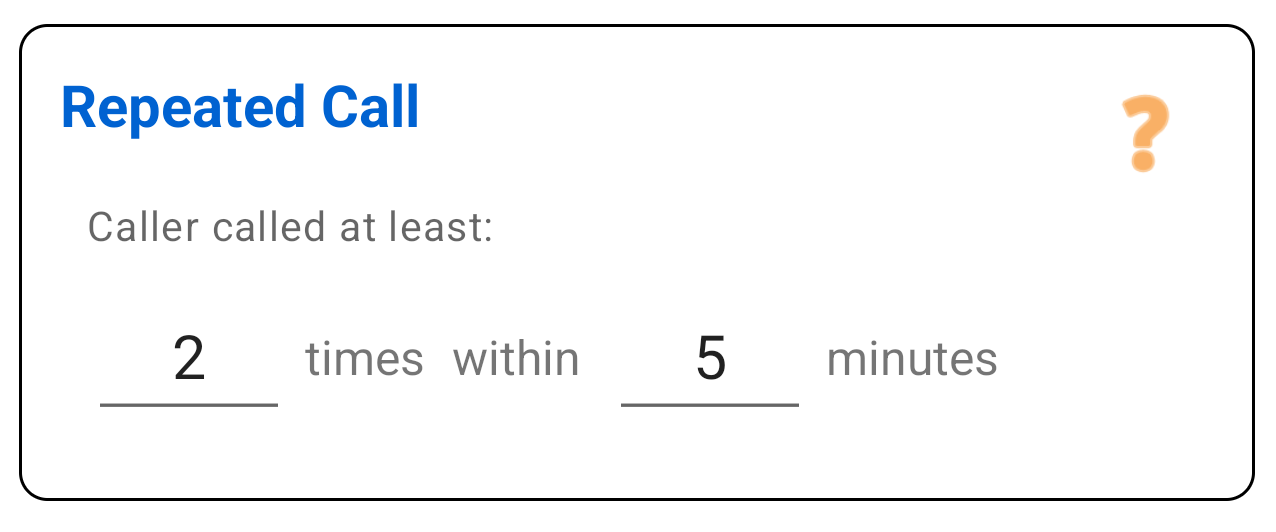
Repeating Caller
The "Emergency" option. This condition is true if the same number calls X times within Y minutes.
Use this in combination with the Allow action to break through your own blocks in case of emergency.
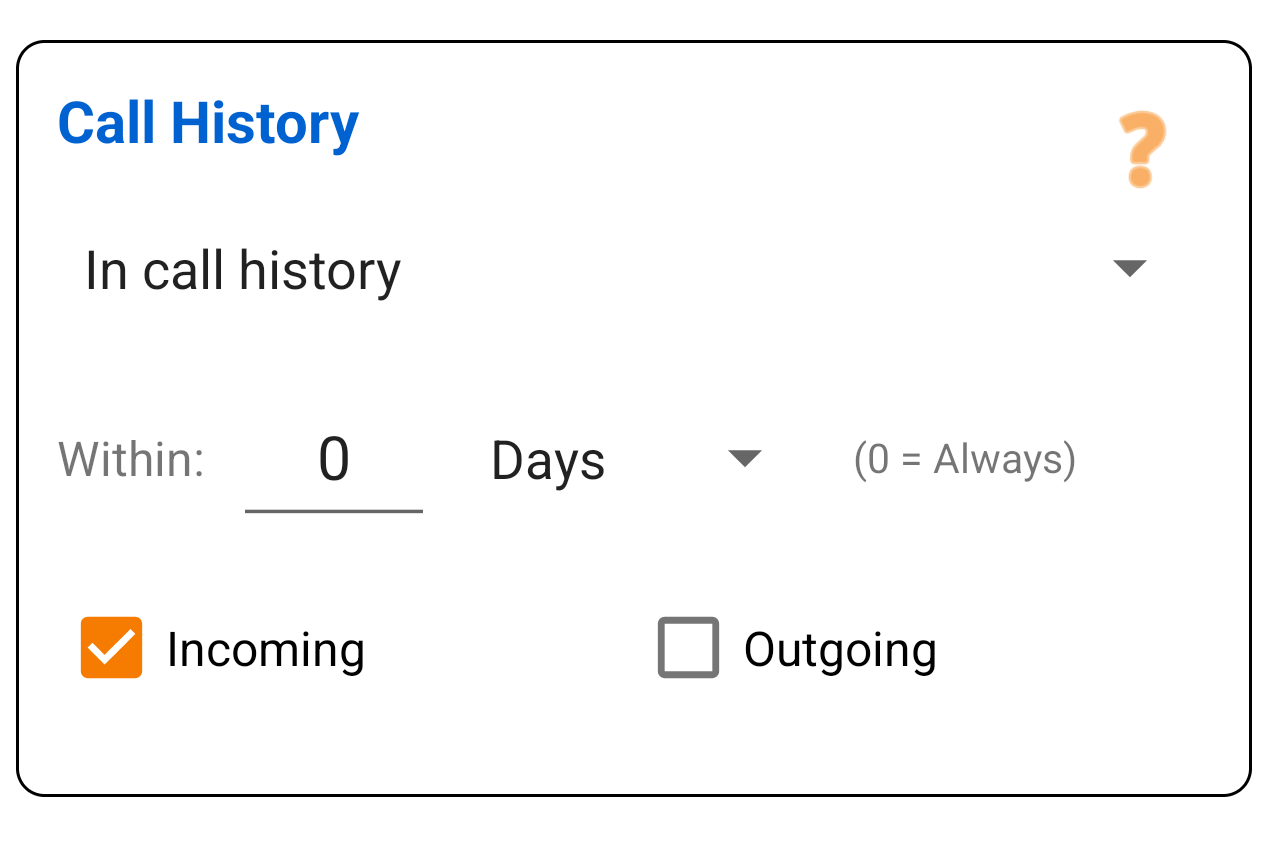
Incoming History
Smart callback. This condition checks: "Did this number call me recently?"
Scenario: Someone calls you on SIM 2. You miss the call. When you call back, PaSS sees in the history that this number belongs to SIM 2 and automatically chooses SIM 2 for the return call.
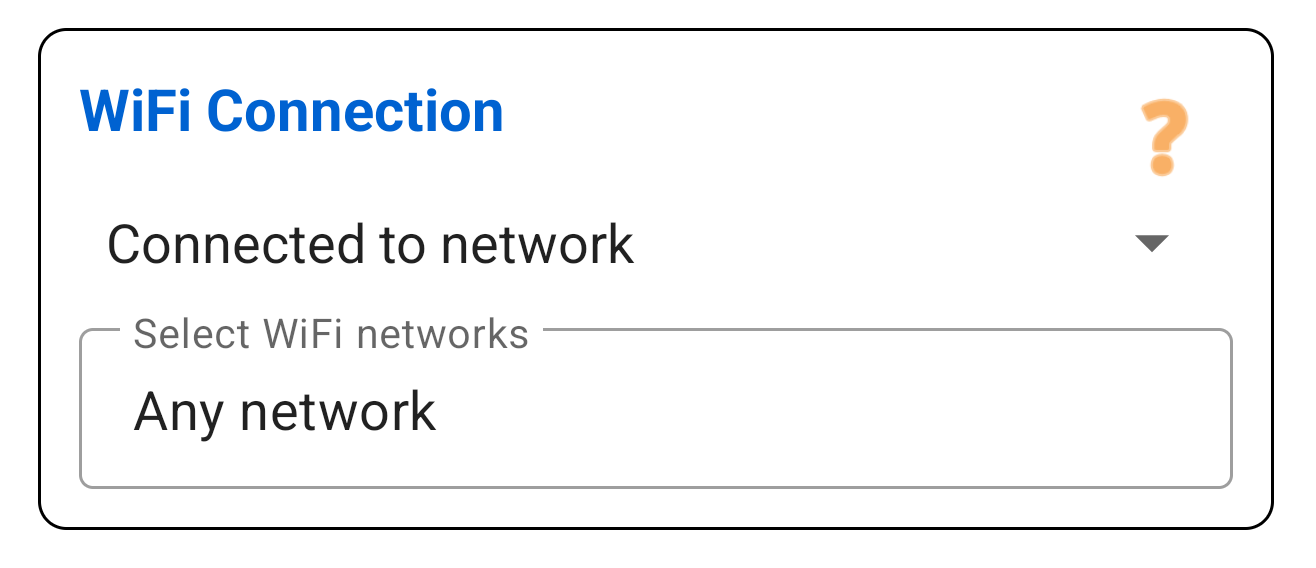
Wi-Fi Network
Checks if you are (or explicitly are not) connected to specific Wi-Fi networks. You can enter multiple networks separated by commas.
Handy: you can add your currently connected network with a single tap.
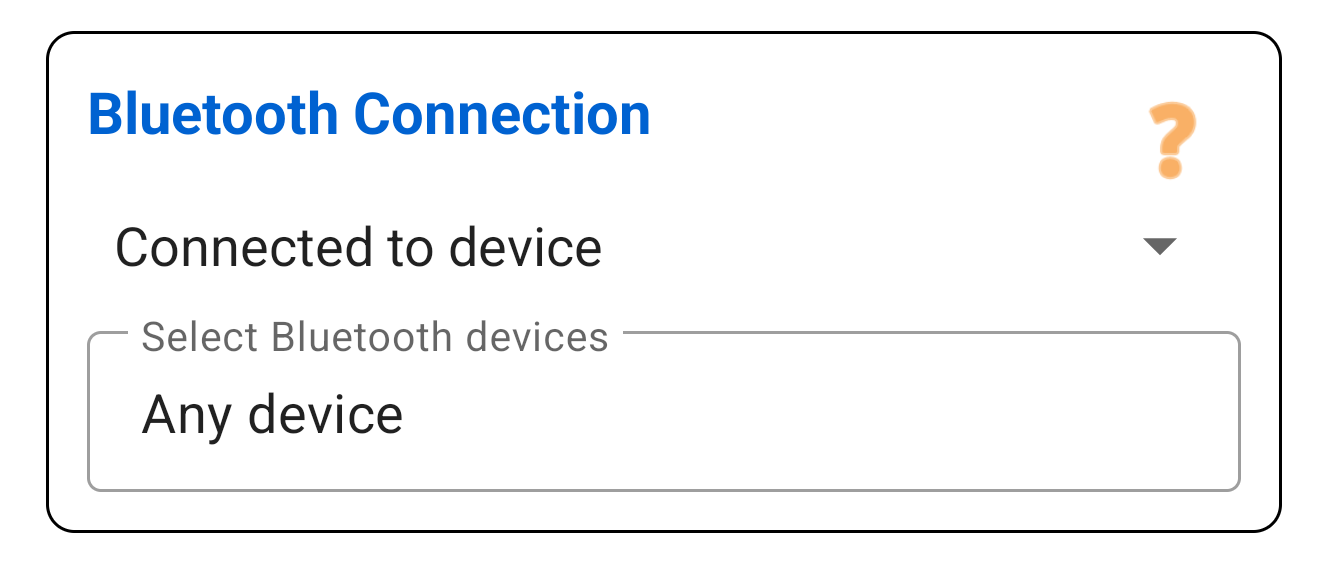
Bluetooth Device
Checks if you are (or explicitly are not) connected to specific Bluetooth devices.
You can easily select your target from a list of all your paired devices (like your car audio or wireless headset).
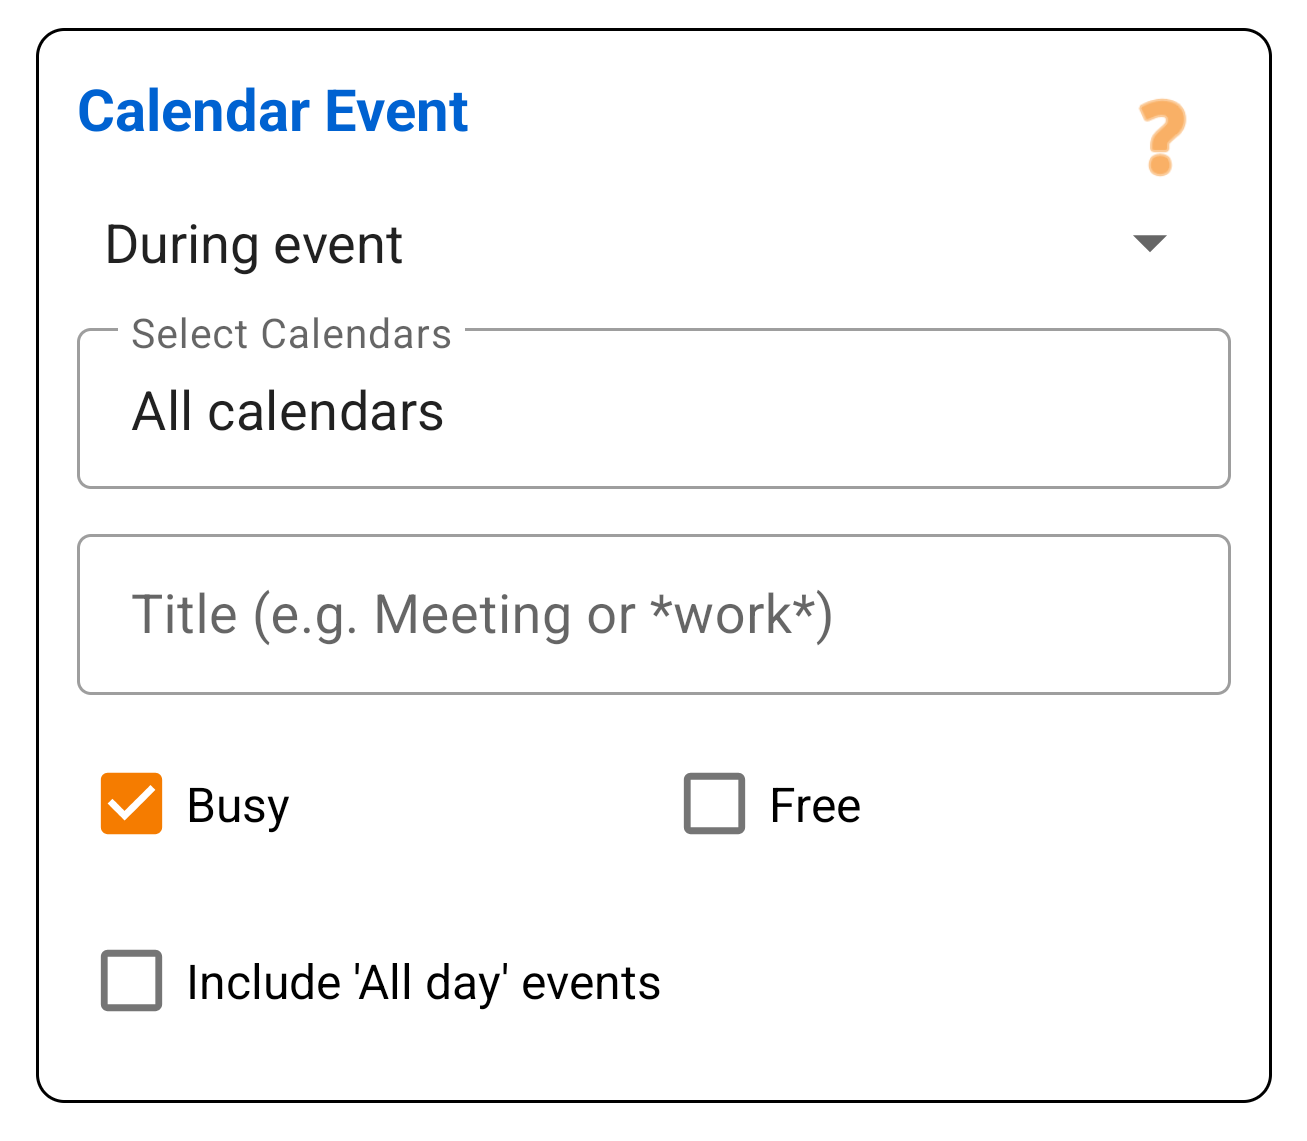
Calendar Event
Checks for active events in your calendar. You can set the rule to trigger if an event matches or does not match your conditions.
You can fine-tune this precisely: select which calendars to check, filter by your status (Busy or Free), and decide whether to include all-day events. You can also search for specific words in the event title (using wildcards and regex).
3. Actions (THEN...)
If a rule matches, PaSS executes these actions. You can stack them (e.g. Choose SIM AND Add Prefix).
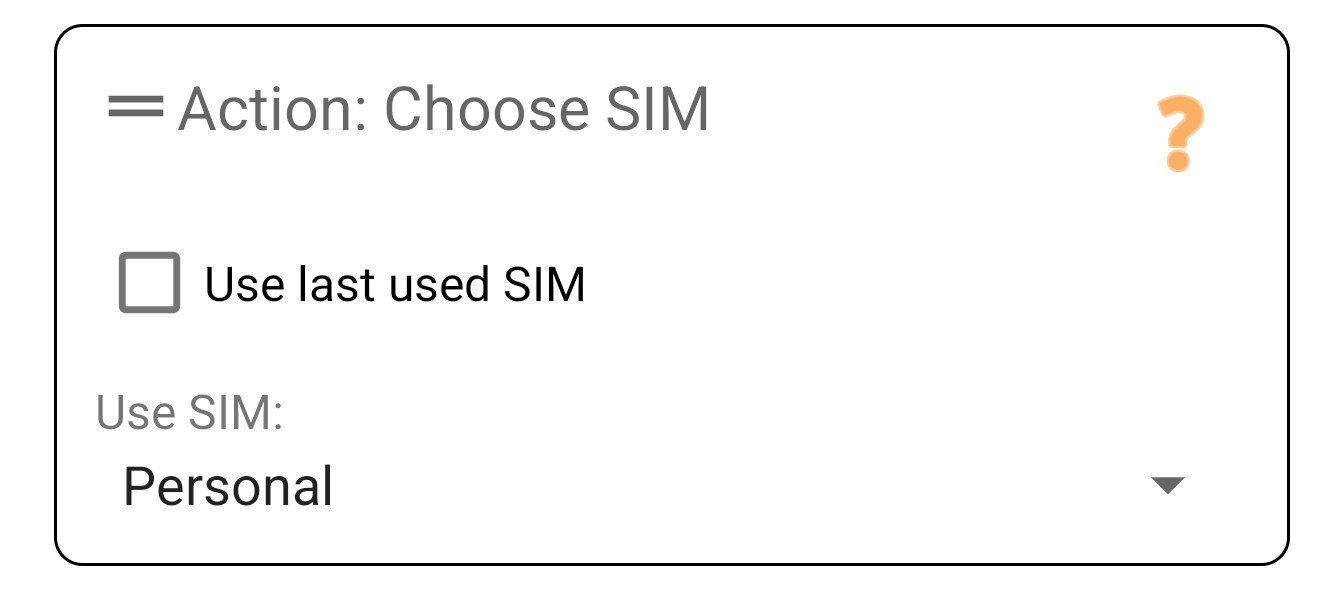
Choose SIM
Determines which line the call goes through.
- Specific SIM: Force SIM 1 or SIM 2.
- Ask: Shows a popup so you can choose yourself.
- Last used: Remembers which SIM you used for this specific contact before.
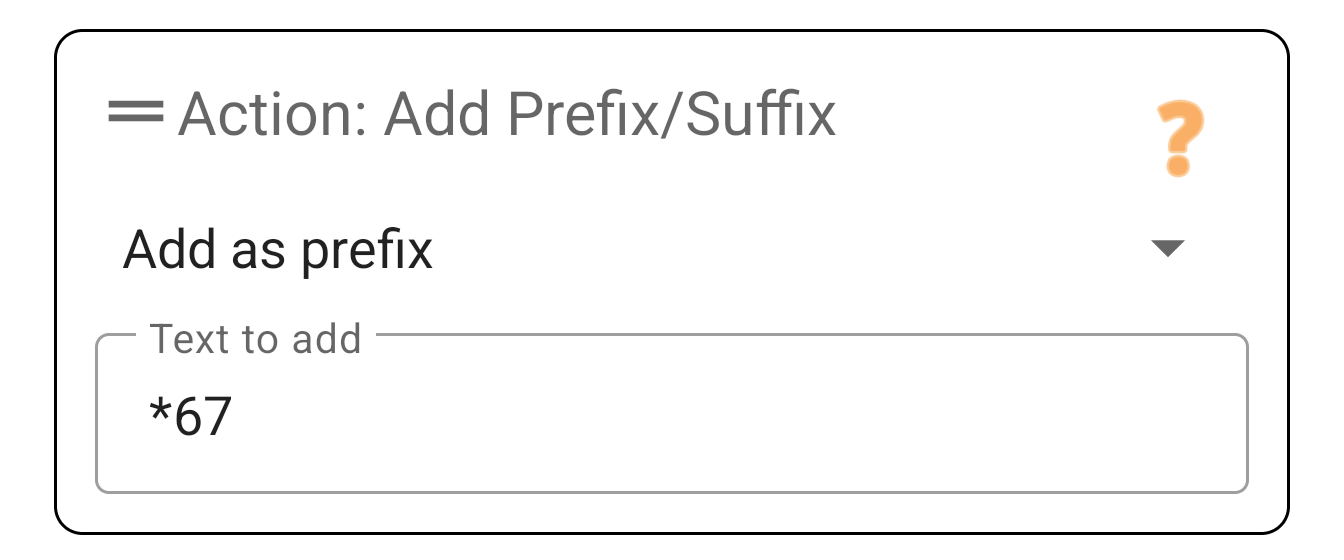
Prefix / Suffix
Adds characters to the number.
- Prefix (Start): E.g.
#31#to call anonymously or+44for country codes. - Suffix (End): Sometimes used for PBX systems.
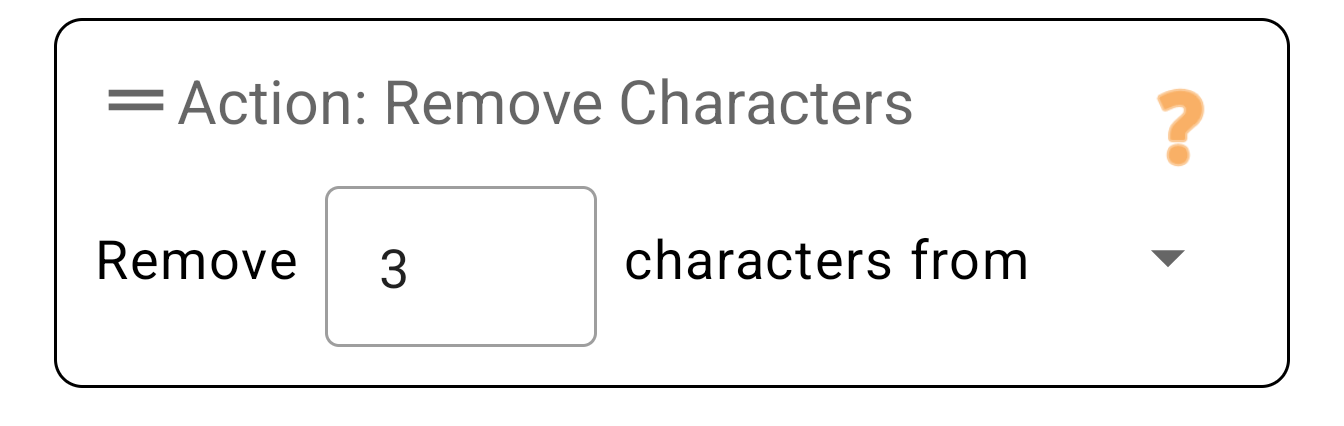
Remove Characters (Start/End)
Remove a fixed number of characters from the start or end.
Why? This is safer than 'Replace' when converting numbers.
Example: Converting 06123... to +316123...? Remove 1 character from the start (the 0) and then use 'Prefix' to add +31. This prevents accidentally replacing an '06' in the middle of a number.
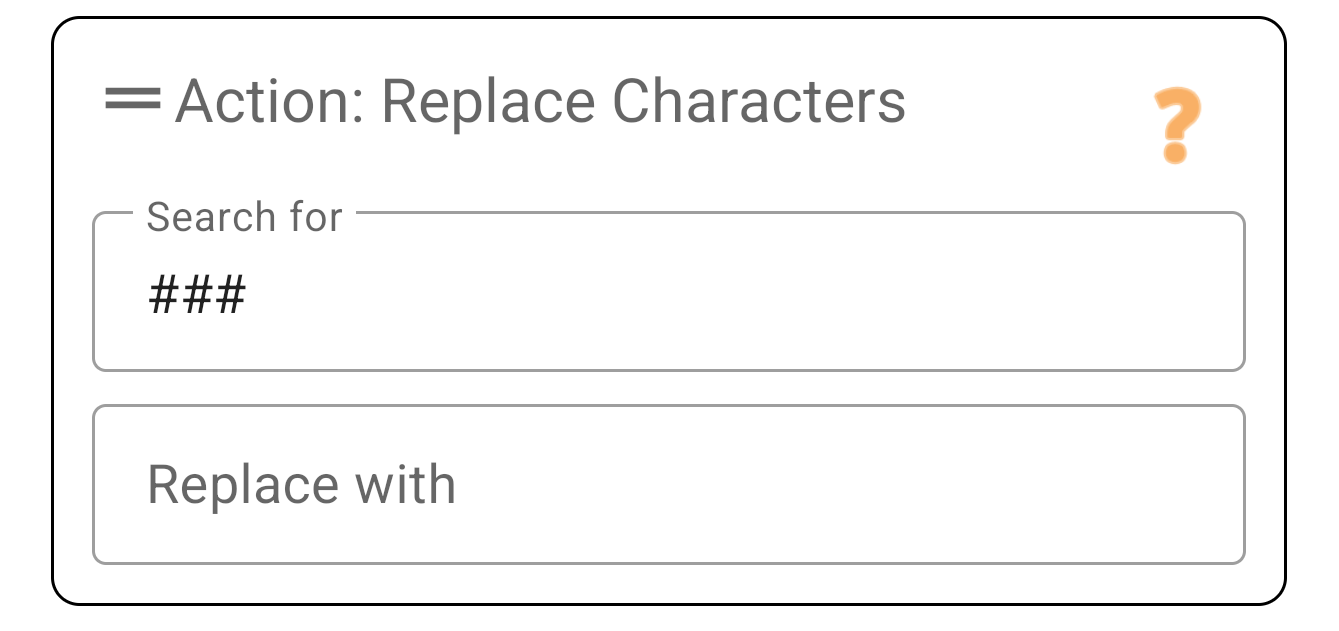
Replace Characters
Search for a character sequence anywhere in the number and replace it.
Example 1: Replace + with 00.
Example 2: Replace *** with 'nothing' (leave empty) to strip a manual code.
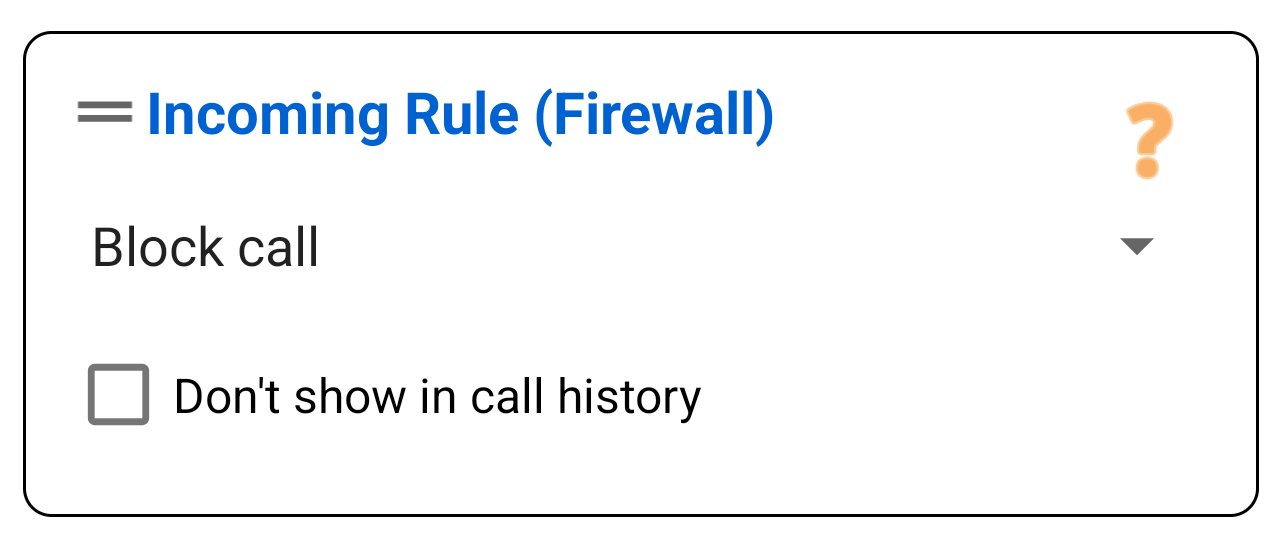
Handle Call
What should happen with the caller?
- Block: Disconnect immediately. The phone does not ring and you get no notification.
- Reject / Voicemail: Rejects the call (as if you pressed the red button).
- Silence: Phone rings, but without sound or vibration.
- Allow: Let the call through. (Place this at the top to overwrite blocks!).
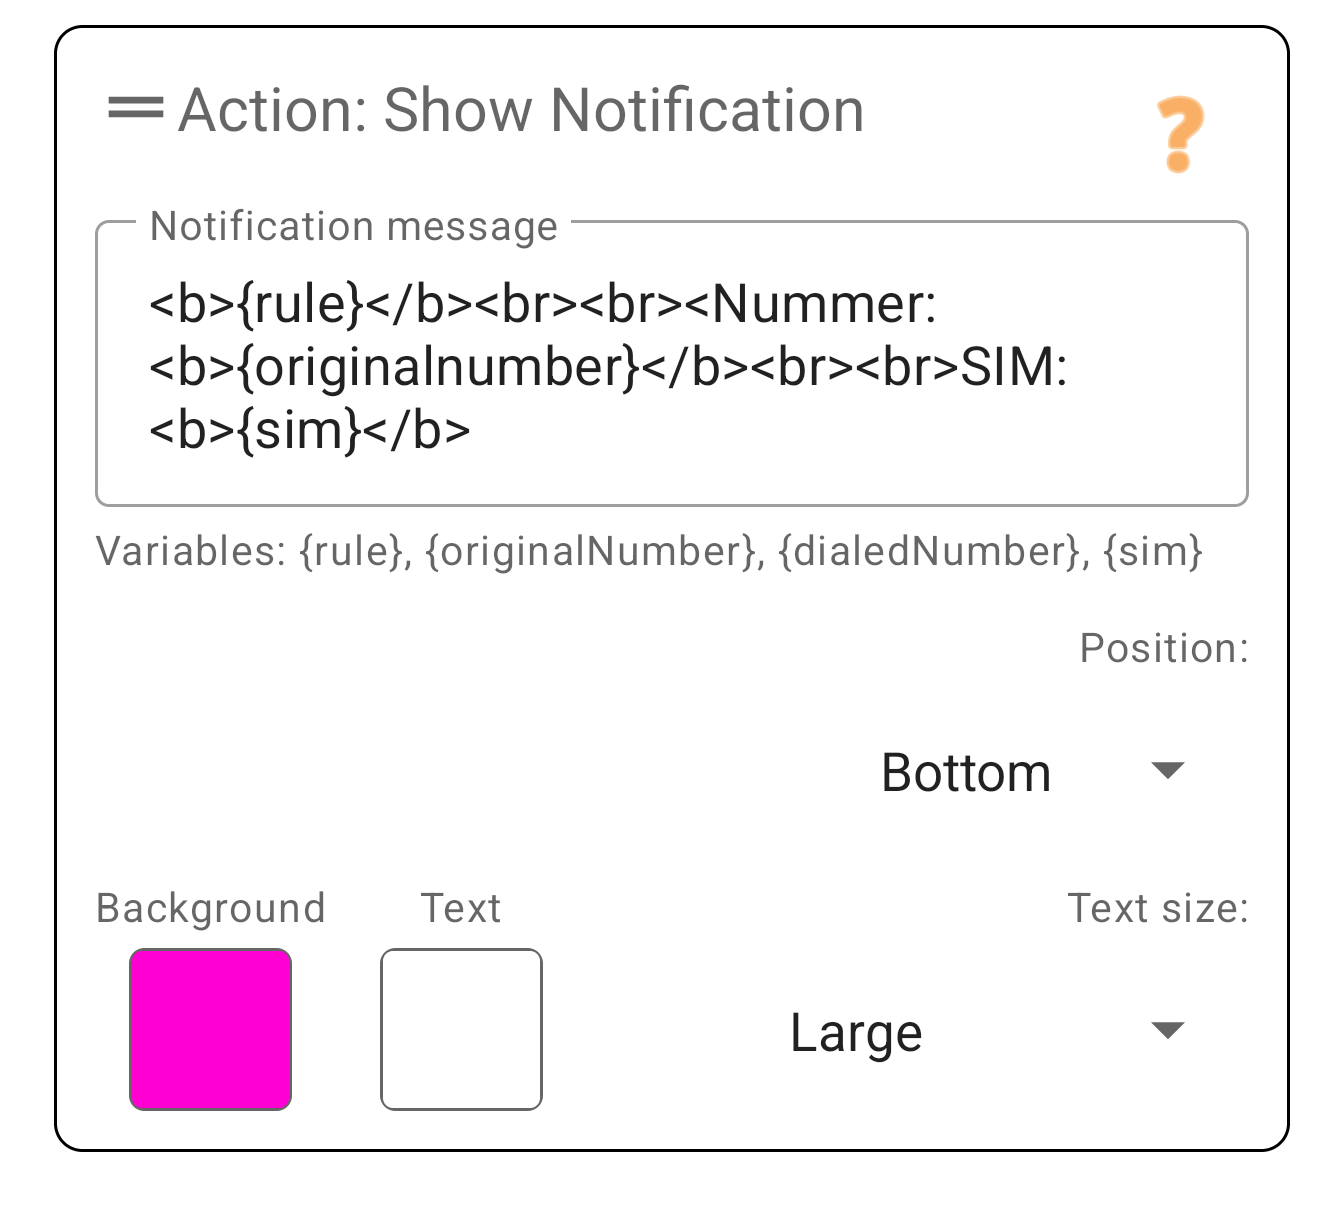
Show Notification (Standard)
Gives visual feedback that a rule is active. This can be an Overlay (stays during call) or a colored bar.
Smart Variables:
PaSS automatically fills these codes:
{{rule}}: The name of this rule.{{sim}}: The name of the used SIM card.{{contactname}}: The contact name (if found).- Outgoing:
{{originalNumber}}/{{dialedNumber}} - Incoming:
{{callerNumber}}
Format: You can style the text with simple HTML tags: <b>bold</b>.
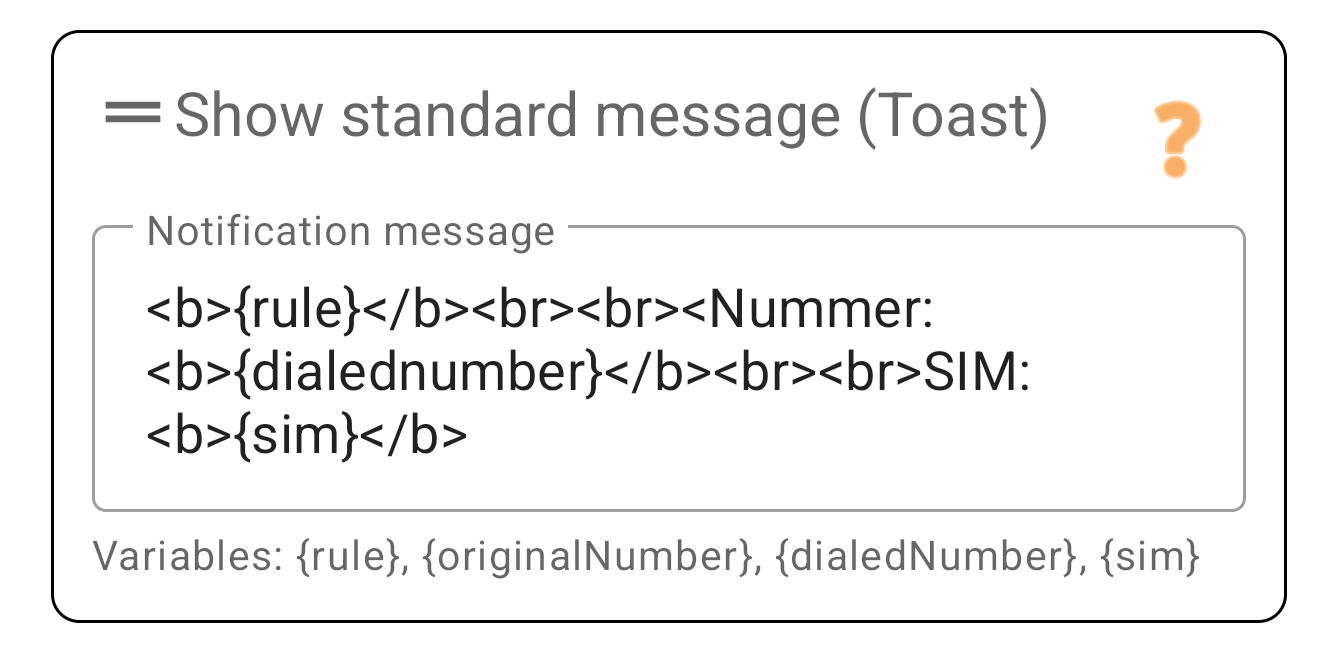
Show 'Toast' Message
Shows a small, grey popup at the bottom of the screen that disappears automatically. Less intrusive than the standard notification.
4. Backup & Settings
Access tools and configuration via the menu (the three dots top right).
Backup & Share
You can save your rules or share them with colleagues.
- Export: Select which rules to save. The list shows with arrows (??/??) whether they are outgoing or incoming rules.
- Import: Open a
.passfile. PaSS attempts to automatically recognize SIM cards.

Settings Menu
Adjust the app's behavior here.
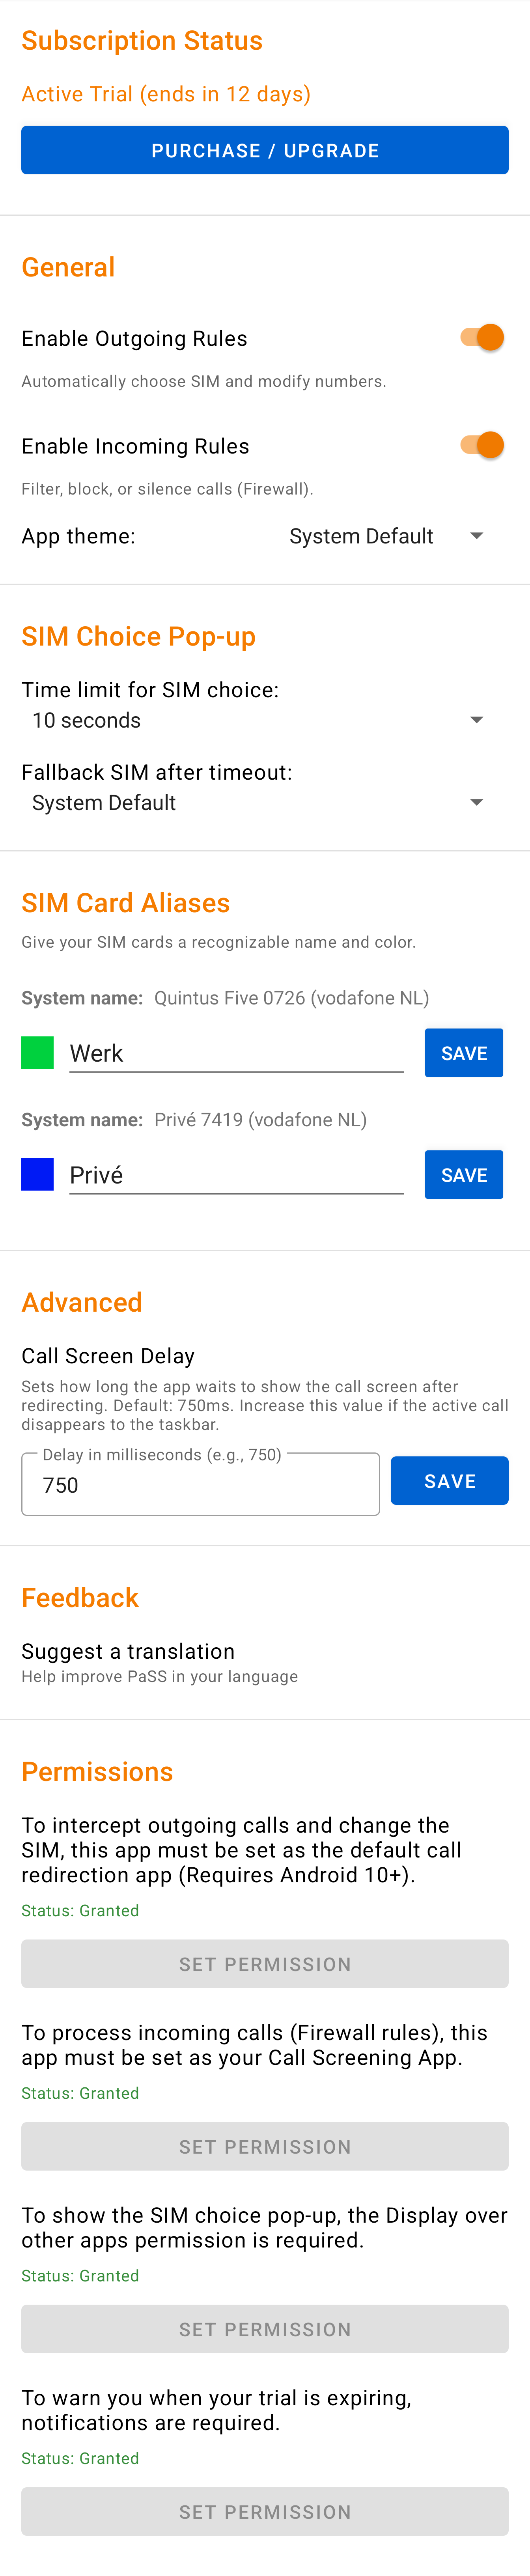
Status & Subscriptions
- Processing Active (On/Off): Use these switches to temporarily pause PaSS without uninstalling.
- During the trial period, these are on by default.
- Is your period over? Then non-purchased features turn off automatically.
- Store: Buy your license here. Choose Outgoing only, Incoming only, or the Full Suite.
SIM Cards & Appearance
- Aliases & Colors: Give each SIM a custom Name (e.g. "Work") and Color. This color appears in the Overlay during calls.
- Theme: Choose Light, Dark, or System Default.
SIM Choice Pop-up
- Timeout (sec): How many seconds should the "Choose SIM" popup remain visible before auto-choosing?
- Fallback SIM: Which choice should be made if the timer hits 0?
Advanced
- Processing Delay (ms): Some phones push the call screen to the background. A small delay (e.g. 500ms) helps keep it visible.
- Feedback: Spot a translation error or have an idea? Report it here.
- Permissions: Check if all necessary rights are still green.